
If you read my last post, hopefully you implemented Bower into your next Visual Studio project. If you are anything like me though, you probably noticed some files being published that you really didn't want to publish. This caused me to do some digging to figure out how to remove these files from publishing. Additionally I learned how to copy some files as well. This is useful for custom file publishing such as replacing a globals.js file.
To the Code
To get started create a blank MVC application in Visual Studio. If you want to cheat and get a complete kick start, click here to pull an example project from my GitHub.
Example Publishing
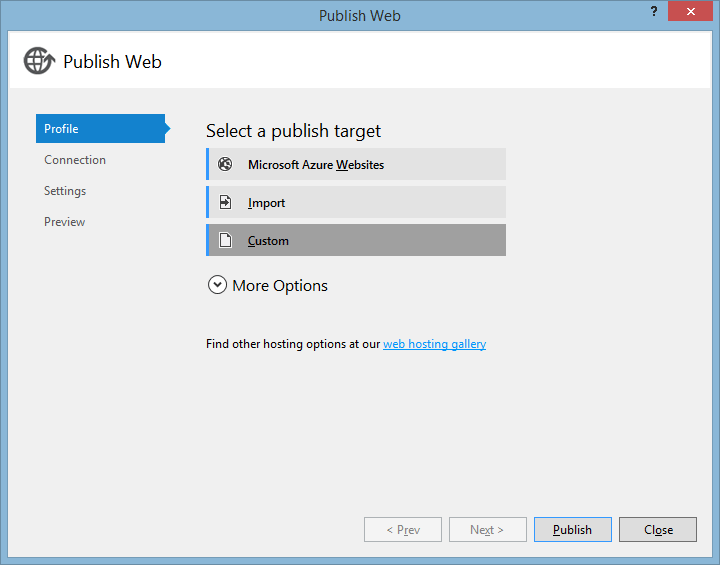
Once you have your example project set up, create a publishing profile. I am only using file based publishing in this post (maybe a follow up post is needed...). First start by publishing your project and selecting custom profile:
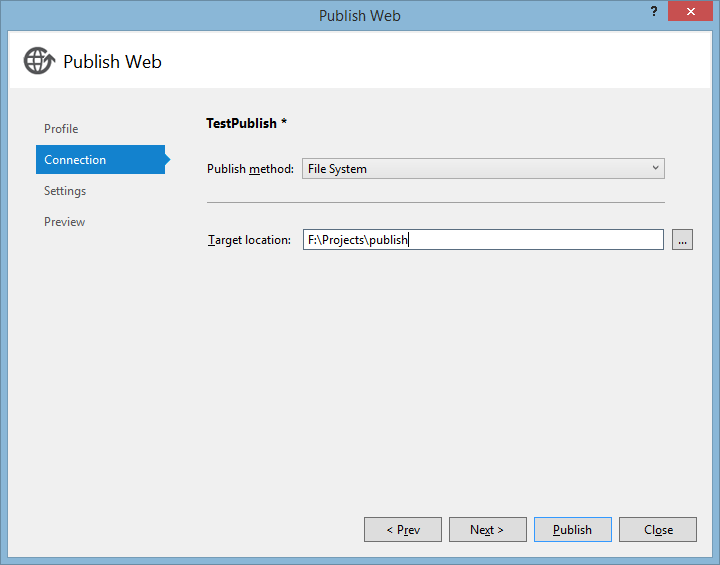
Now select the publish method, file system, and enter the location where you would like your files to be published.
On the final screen, select the configuration you would like to use for publishing. I also like to delete all my existing files and make sure not to include files from the App_Data folder.

When you are done, click publish to publish the files.
Time to Customize
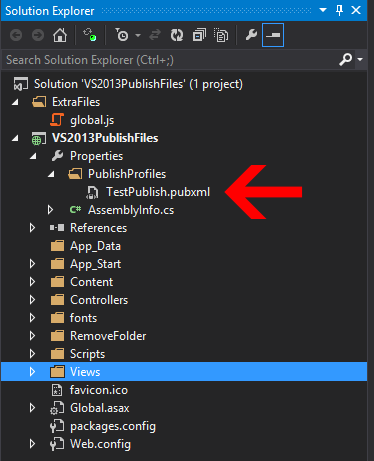
At this point, VS will create a publishing profile for you. This is where you want to dig in and manually customize your publishing process. Expand the Properties directory and then the PublishProfiles directory to see the publishing profile XML.
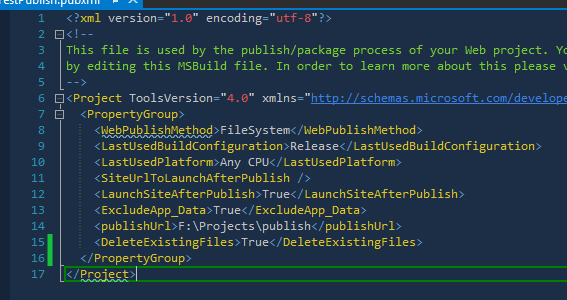
Once you open this file, you will see something like the below as the default:
First you will create a publishing action to remove some files and a directory. To do this, you will be adding two new XML elements, ExcludeFilesFromDeployment and ExcludeFoldersFromDeployment to your pubxml file. The first element removes files you do not wish to deploy and the second removes directories you do not wish to deploy. The paths in both elements are relative to the project root. For this example I added an ignoreme.txt file and a RemoveFolder directory to the root of the project. Once you have made your edits, your pubxml file should look like the following:
Save your changes and publish your project using this publishing profile. You should see that the ignoreme.txt file, packages.config file and the RemoveFolder are not published to the publish directory. SWEET!
The final example of custom publishing involves copying a file from an external location to the final published location. This could be useful for something like replacing a global.js file. Inside your solution but outside of your project, create 2 files in a solution folder - global.js and renamefile.js. The contents of these do not matter. You only need to be able to tell what file it is. Additionally, in your scripts directory in your MVC project create another global.js file with different content in it.
Now you will be adding two additional targets and property groups to your pubxml file. Add the <Target Name="CopyGlobal"> and <Target Name="CopyAndRename"> elements and the associated <PropertyGroup> elements to your pubxml file. The result should look like the following:
Assuming your project is structured the same as mine (you might need to verify the path of your global.js file), when you publish you should notice the global.js file in the scripts directory is your external file. Additionally, you should now have the renamed config.js file.
If you want to copy more than one file, you can add additional &;lt_CustomFiles> elements to your target group. If you use this method however, you will need to use this line
<DestinationRelativePath>scripts\%(RecursiveDir)%(Filename)%(Extension)</DestinationRelativePath>
to ensure the files are placed correctly.
Also note that scripts</i> directory is where the copied files will be placed. If you want to use a different location you will need to adjust that.
Closing Thoughts
Hopefully this will save you some time in publishing your project with custom build actions. Although this isn't the Grunt of Visual Studio, it does allow some custom build actions without an additional bat file or script. Until next time - happy coding!